
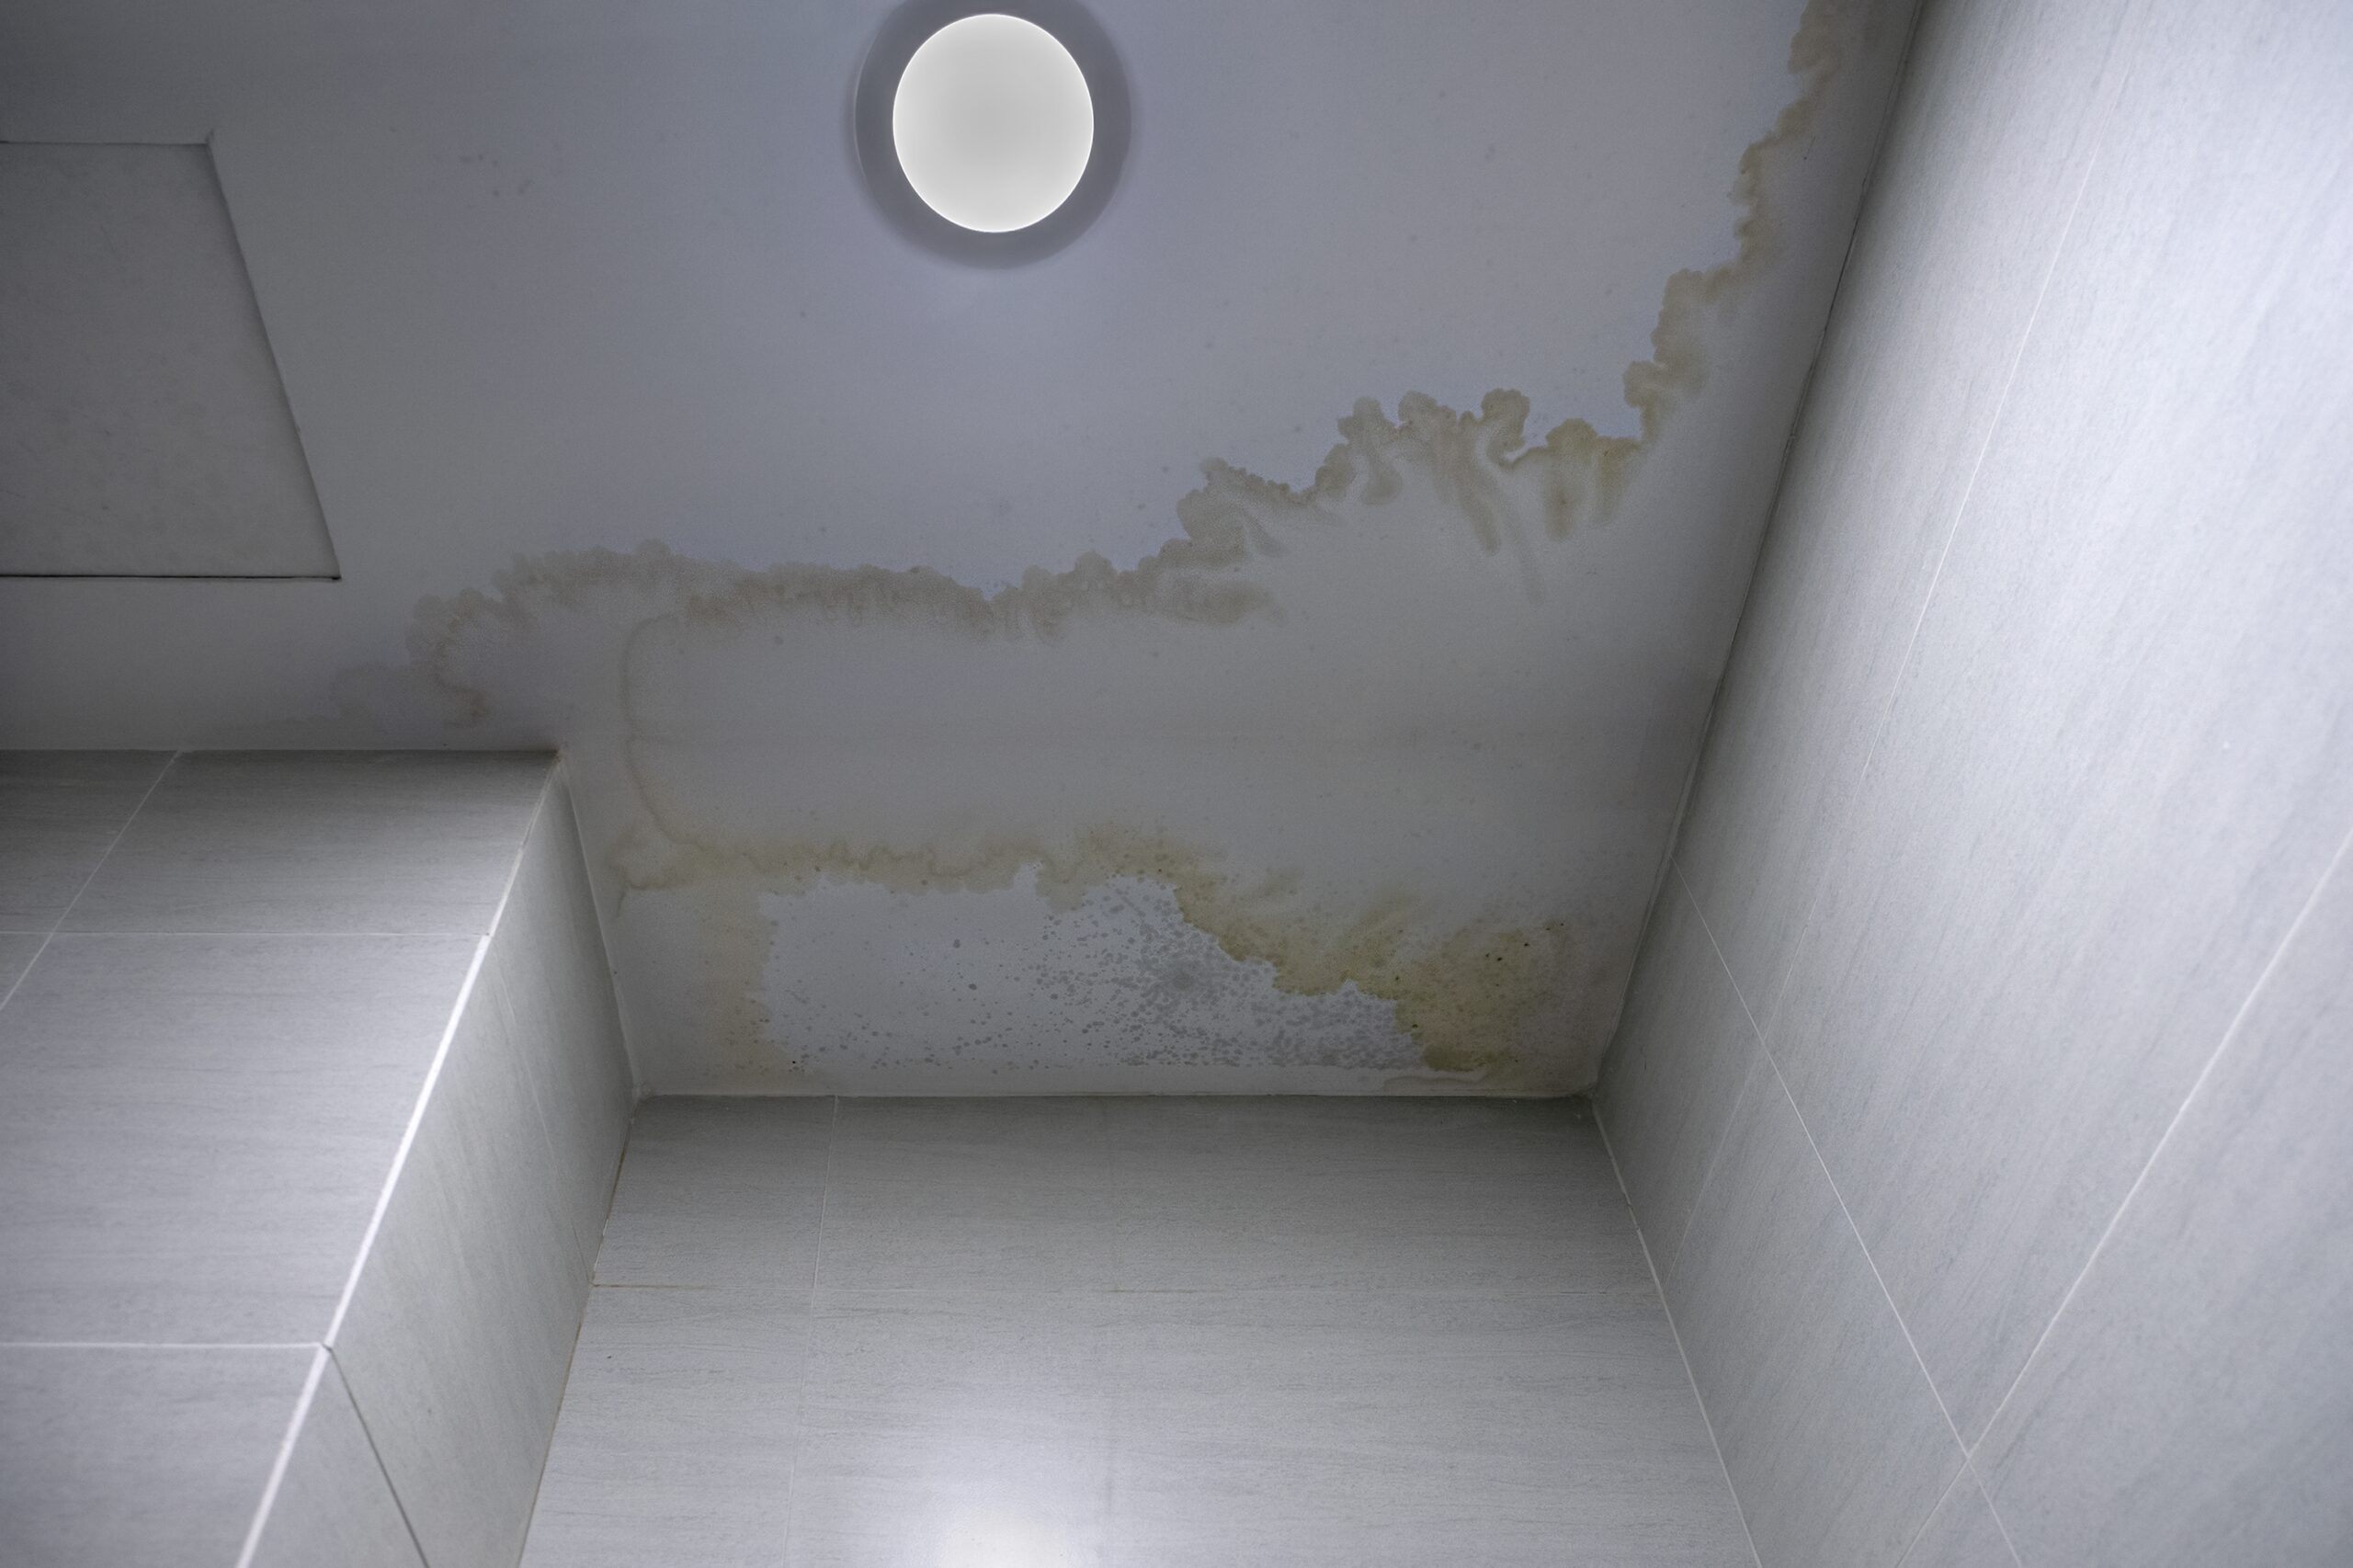
Noticed a brown patch on your ceiling or a steady drip after heavy rain? You’re not alone. Leaky roofs and burst pipes can sneak up on anyone, and once water gets into your ceiling, it’s only a matter of time before things get worse. Knowing how to fix ceiling water damage early can save you from bigger repairs down the line. This guide walks you through spotting the signs, stopping the leak at its source, and sorting out the mess left behind. Whether you’re handy with tools or just trying to understand what needs doing, this will help you get started.
Identify the Source of the Leak
Before you start any repairs, you need to find out where the water is coming from. Guessing won’t help. You might fix one spot, but if the source stays hidden, the problem will come back.
Start by looking at the area above the ceiling damage. If it’s under a bathroom or kitchen, check for leaking pipes or loose fittings. Look around sinks, toilets and showers. Even small drips can slowly cause harm over time.
If there’s no plumbing nearby, check your roof next. Broken tiles or blocked gutters can let rainwater in. Look in your loft or attic for wet insulation or damp patches on beams and boards. These signs often point to a roof issue.
Sometimes it’s not about leaks but moisture build-up instead. Poor airflow in rooms like bathrooms can lead to condensation that soaks into ceilings over time. In those cases, improving ventilation may stop future problems.
You should also inspect windows and walls close to where you see ceiling stains or peeling paint. Water can enter through gaps in window seals or cracks in external walls and travel before settling above your ceiling.
Once you’ve located where it starts, take action quickly to avoid more trouble later on. Dry out any wet areas and fix what’s broken, whether that’s sealing a pipe joint, clearing a drainpipe or patching up part of your roof.
Don’t just cover up marks with paint without solving what caused them first, that only hides symptoms rather than dealing with them properly.
Knowing how to fix water damage starts with spotting its cause early on so things don’t get worse down the line.
Fix Ceiling Water Damage Promptly
Once the leak has stopped, it’s time to deal with what’s left behind. Leaving wet or stained parts of your ceiling alone can lead to more problems. Damp materials can hold moisture, which may cause mould or a musty smell over time. That’s why it’s important to act quickly and remove anything that looks damaged.
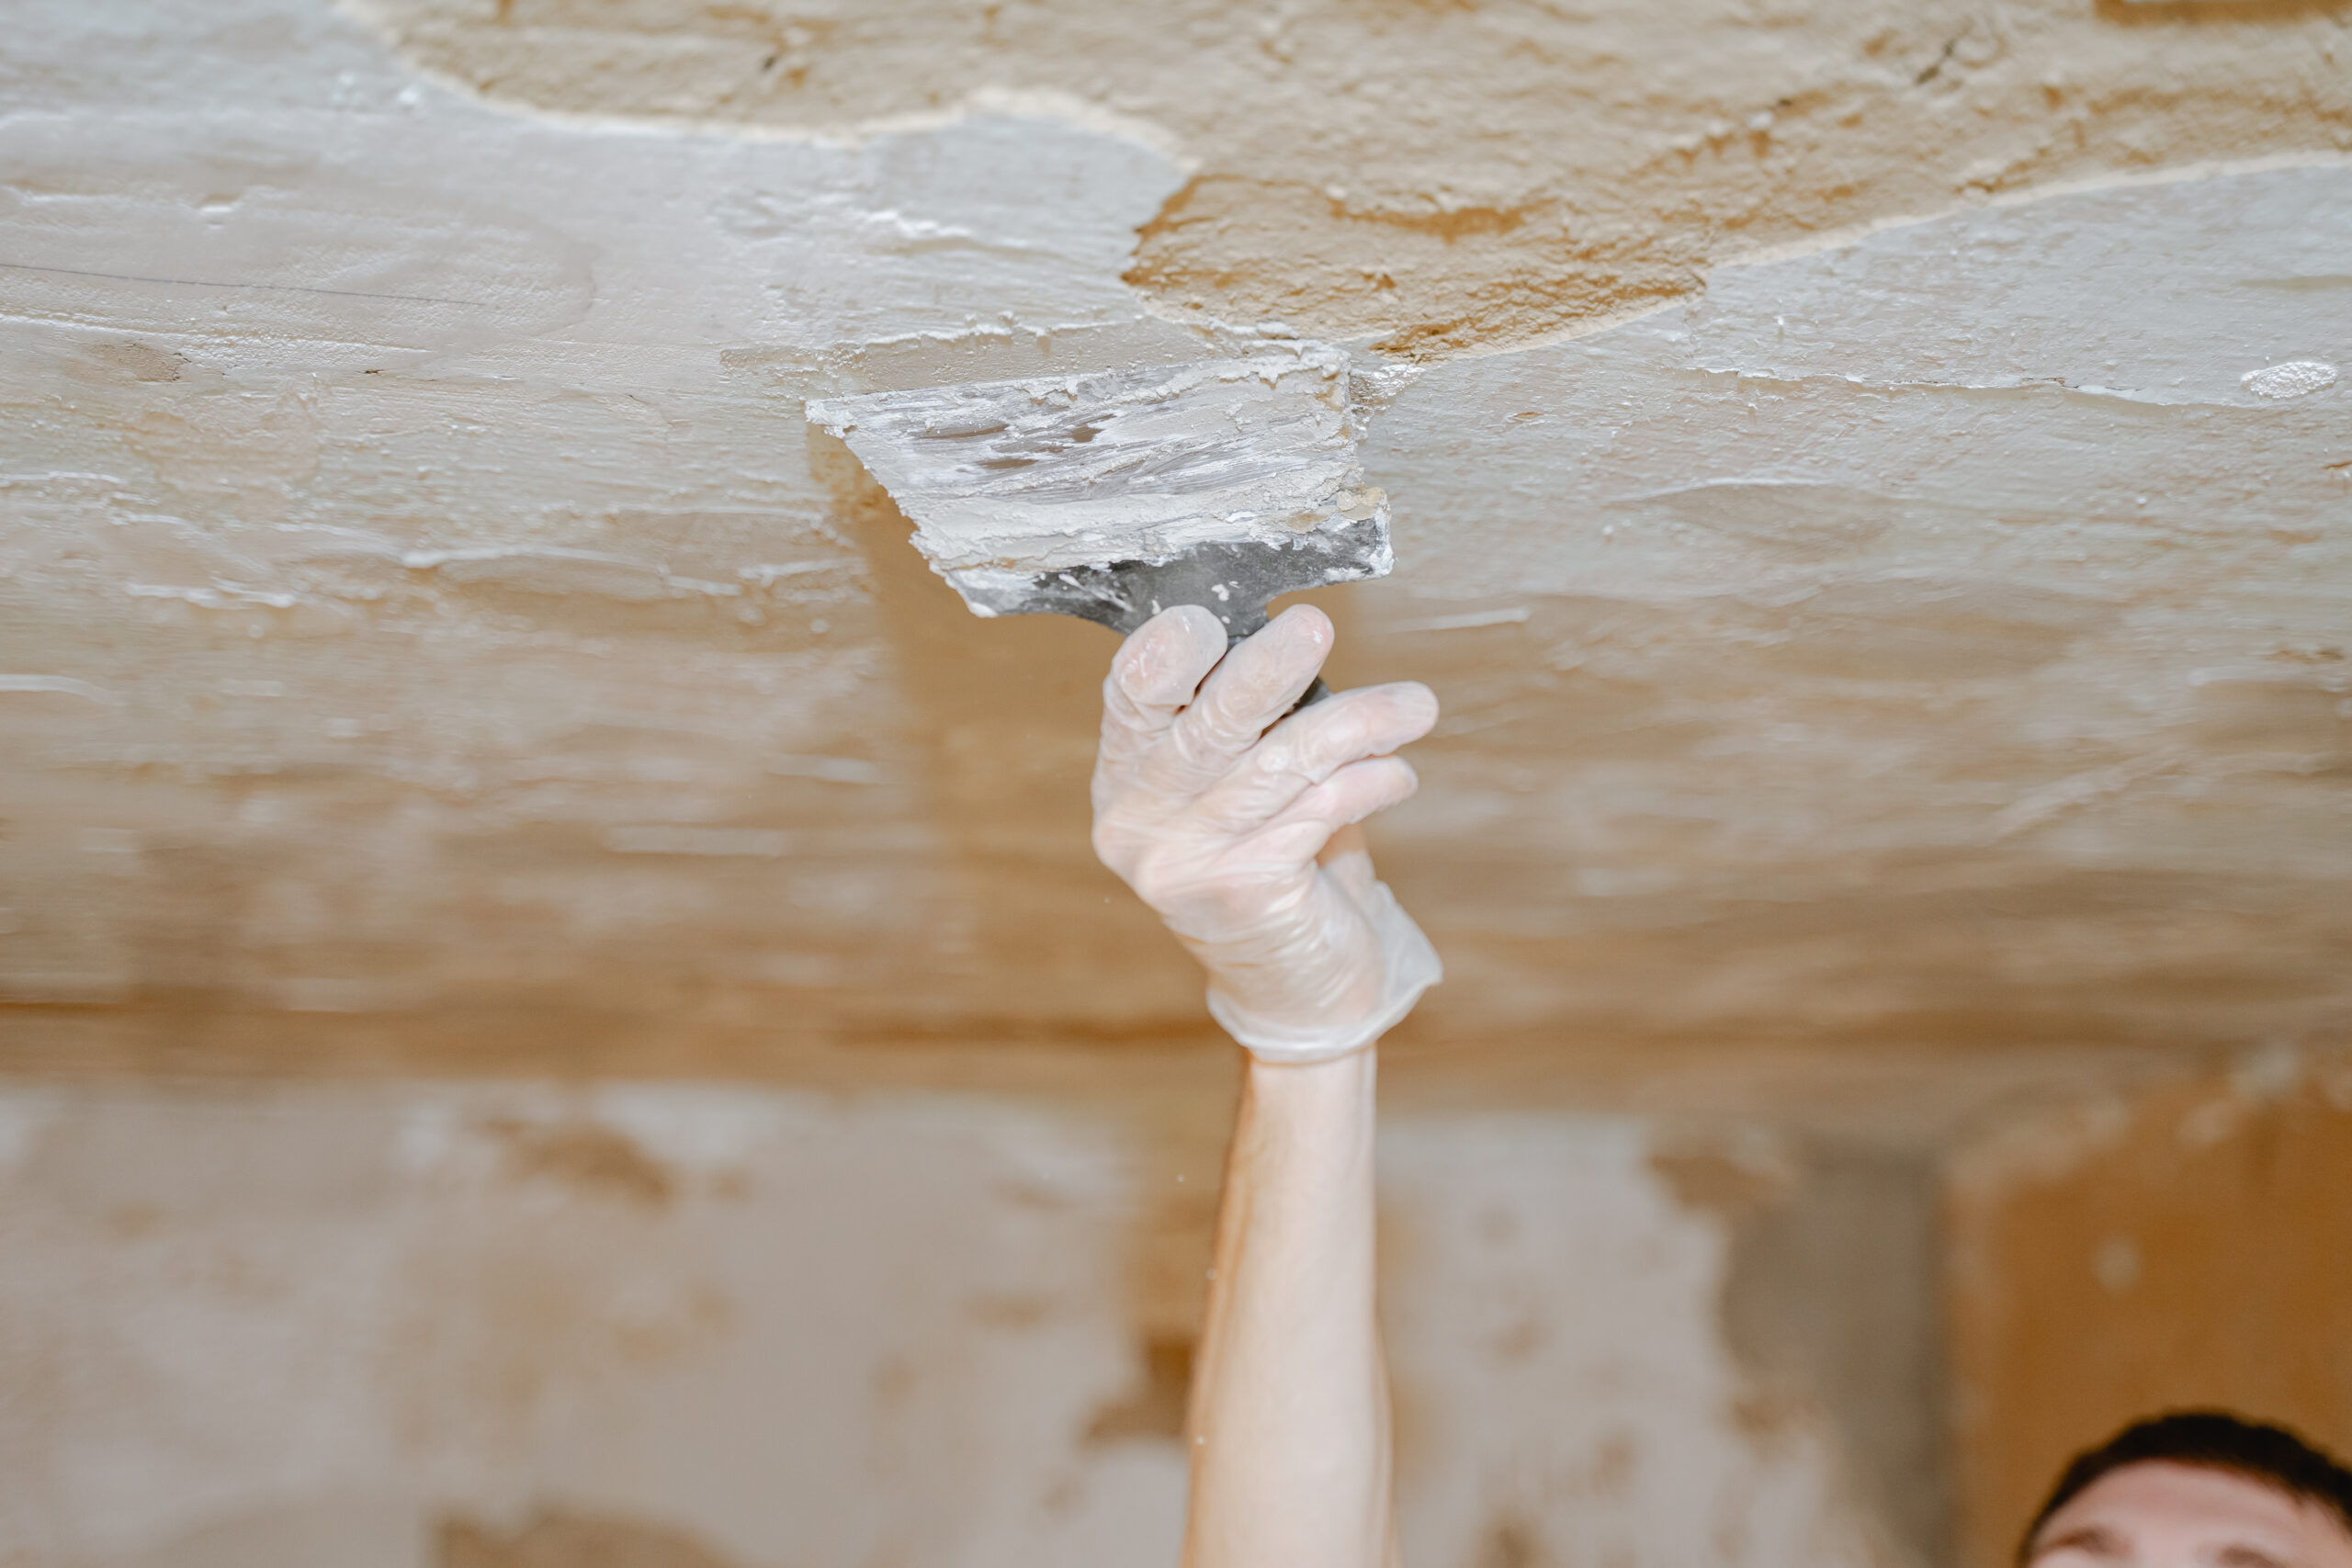
Start by checking the plasterboard. If it feels soft or sagging, take it down carefully. Wet plasterboard can fall apart fast, so wear gloves and use simple tools like a utility knife and a scraper. Once the damaged part is gone, look inside the ceiling space for wet insulation. Soaked insulation won’t dry properly on its own and won’t do its job anymore. Pull out anything that feels damp and let the area air out fully before replacing it.
Next comes repainting. But don’t paint over stains right away, they’ll just come through again later. Use a stain-blocking primer first to cover any marks from water exposure. After that dries fully, apply your ceiling paint as usual.
All these steps help restore both how your ceiling works and how it looks day-to-day. If you skip any part of this process, small issues could turn into bigger ones down the line.
Choosing to fix ceiling water damage early saves time and reduces stress later on. It also helps keep your home safe for everyone living in it.
Getting things back in shape doesn’t always need expert help either, but if you feel unsure at any stage, don’t wait too long before calling someone who knows what they’re doing.
Improve Ventilation and Insulation
Poor airflow in your home can cause damp spots to form. If warm air rises and gets trapped near the ceiling, it turns into moisture. Over time, that moisture can lead to stains, peeling paint or even mould. One way to avoid this is by improving how air moves through your loft or attic space.
Start by checking if there’s enough airflow in the roof area. Blocked vents or no vents at all allow heat and humidity to build up. You want steady movement of air so things stay dry. Installing ridge vents or soffit vents helps with this. These let fresh air come in while pushing old, moist air out.
Insulation also plays a big role here. Without proper insulation, warm indoor air escapes into the loft and meets cooler surfaces. That creates condensation, which leads to damp patches on ceilings below. Fitting new insulation between the rafters keeps the temperature more stable and reduces that risk.
Use insulation that suits your home type and climate zone. Make sure it doesn’t block any existing airflow routes while being installed. It’s important not to trap moisture inside walls or roofing layers either.
Keeping both ventilation and insulation balanced helps stop water from building up where it shouldn’t be. This reduces future damage and cuts down on costly repairs later on.
If you’ve already noticed signs of damp above, taking steps like these can help fix ceiling water damage before it spreads further across rooms or floors below.
Regular checks during colder months go a long way too, especially after heavy rain falls or snow melts off quickly from rooftops when temperatures shift suddenly.
Schedule Regular Roof Inspections
Checking your roof often can help catch small problems early. A quick look once or twice a year could save you from bigger repairs down the line. Cracked tiles, loose shingles, or damaged flashing might not seem urgent at first. But over time, they can let water in and lead to serious leaks.
Blocked gutters also cause trouble. When water can’t drain properly, it builds up and finds another way down, sometimes through your ceiling. If that happens, you’ll need to fix ceiling water damage, which takes time and money.
You don’t always need a professional for basic checks. You can walk around your home and look from the ground with binoculars. Spot anything out of place? That’s a sign something might be wrong up there. Tiles should lie flat and tight together. Flashing near chimneys or vents shouldn’t be bent or missing.
After storms, it’s even more important to take a look. Strong wind or heavy rain can shift materials on the roof without you noticing right away.
If you’re not comfortable climbing ladders or going onto the roof yourself, hiring someone is worth it. A roofing expert will know what to spot and how to fix it quickly if needed.
Try setting reminders before spring and autumn each year so inspections become part of your routine. These seasons bring weather changes that affect roofs most, heat expansion in summer, cold snaps in winter.
Small steps like these help prevent leaks before they start and reduce the chance of costly repairs later on. Keeping an eye on things now means fewer surprises when rain starts pouring down again.
Stay Ahead of Leaks with Simple Preventative Steps
Taking care of your ceiling doesn’t have to be a headache. By identifying the source of any leaks early, acting fast to fix ceiling water damage, and improving ventilation and insulation, you can save yourself time, money, and stress in the long run. Regular roof inspections also go a long way in spotting issues before they become serious problems. Staying proactive is key, don’t wait for visible damage to take action. A little attention now can help keep your home safe, dry, and looking its best all year round.